Equipment
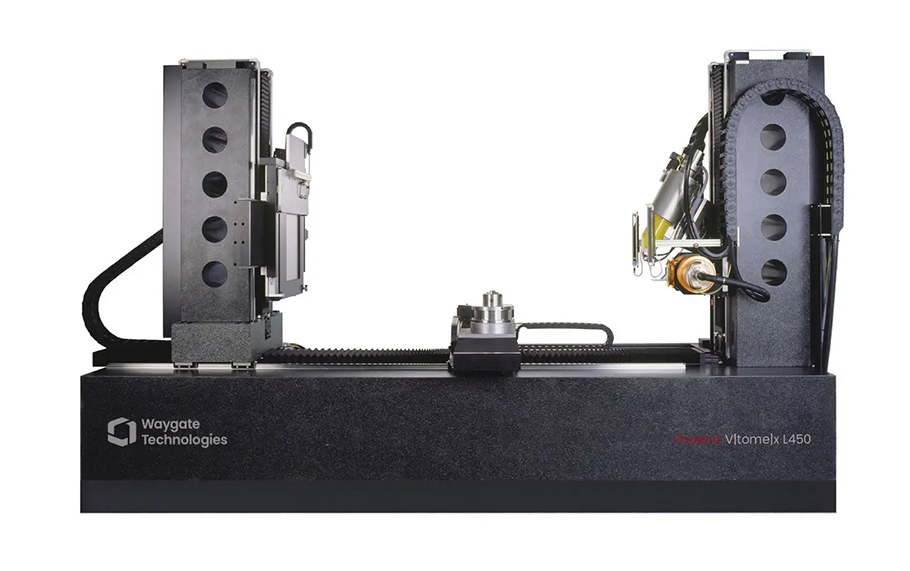
Waygate Technologies phoenix v|tome|x L450
Specifications
- Precise granite-based 7 axes manipulation system for heavy sample handling
- Cabinet crane
- Air-conditioned cabinet, Anti-vibration system
- Scatter correction, Helical scanning, 2D inspection package
- Detector: flat panel dynamic 41|200: 2000 x 2000 px, pixel size 200 μm
- 450 kV / 450 W MESO-Focus X-ray tube
- 450 kV / 1500 W minifocus X-ray tube
Limits
- Maximum scanning volume: Ø800 x 1250 mm
- Maximum sample height: 2 m
- Maximum sample weight: 200 kg
- Minimal focal spot: 63 µm
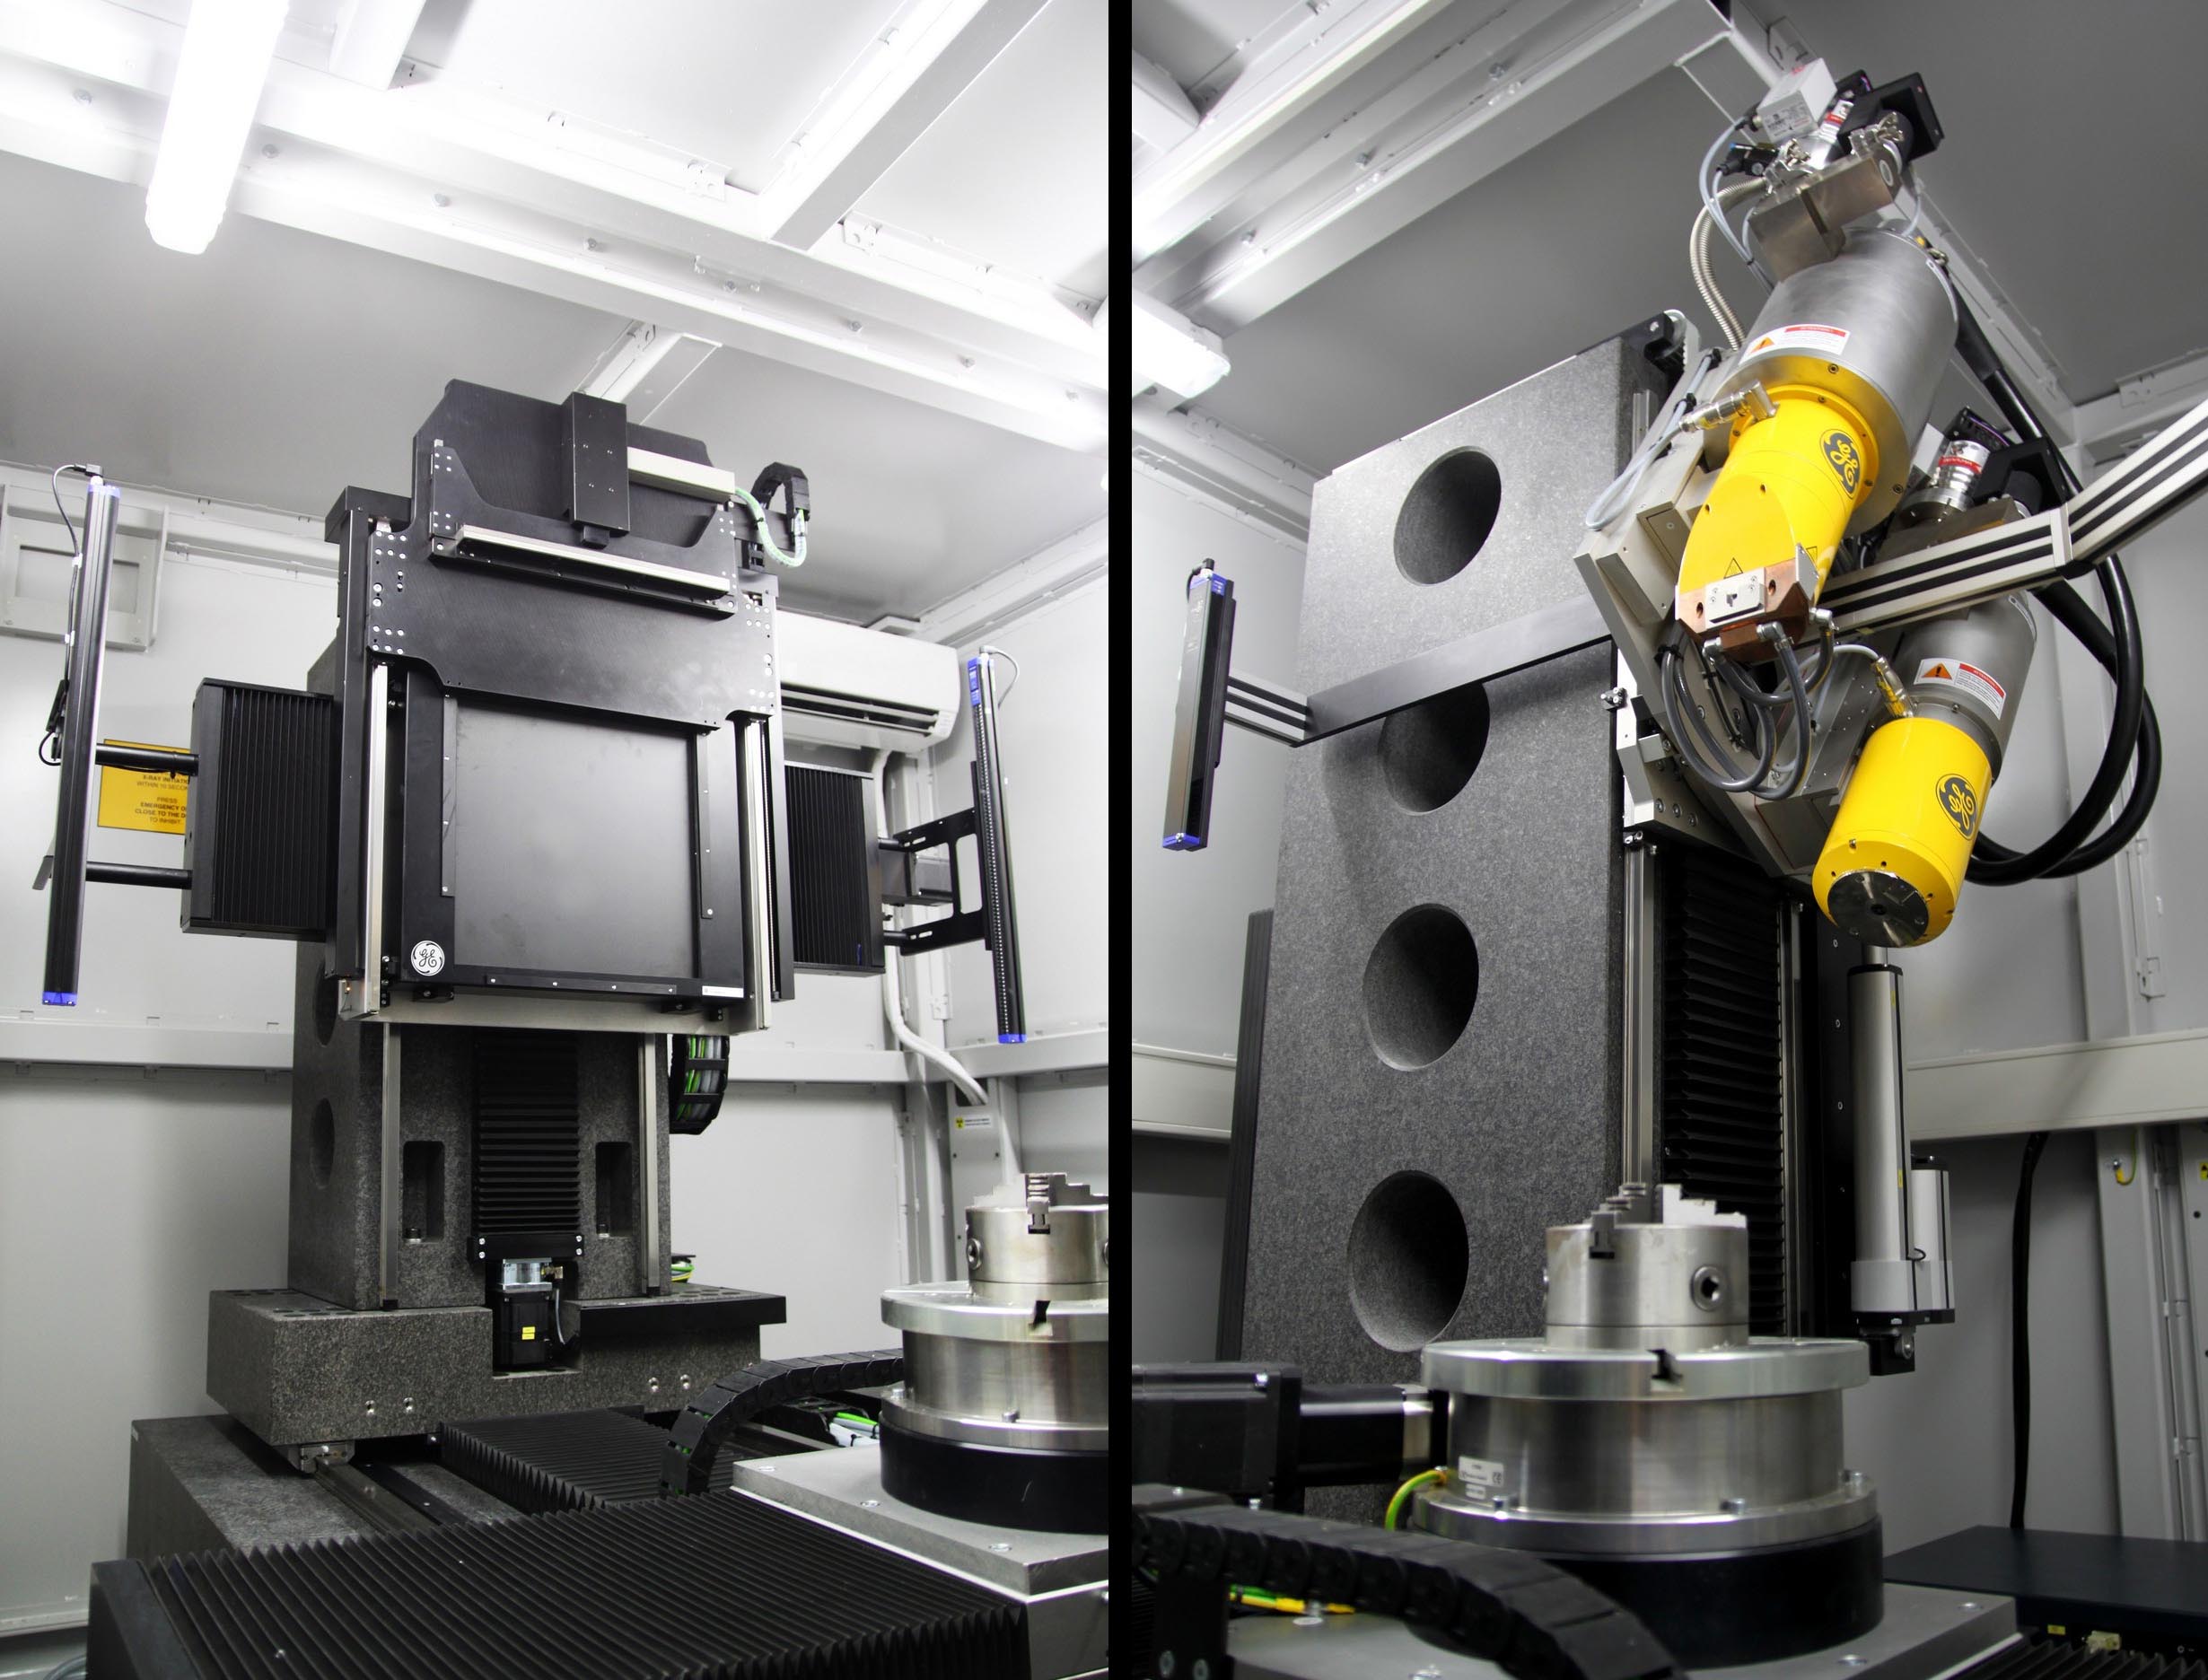
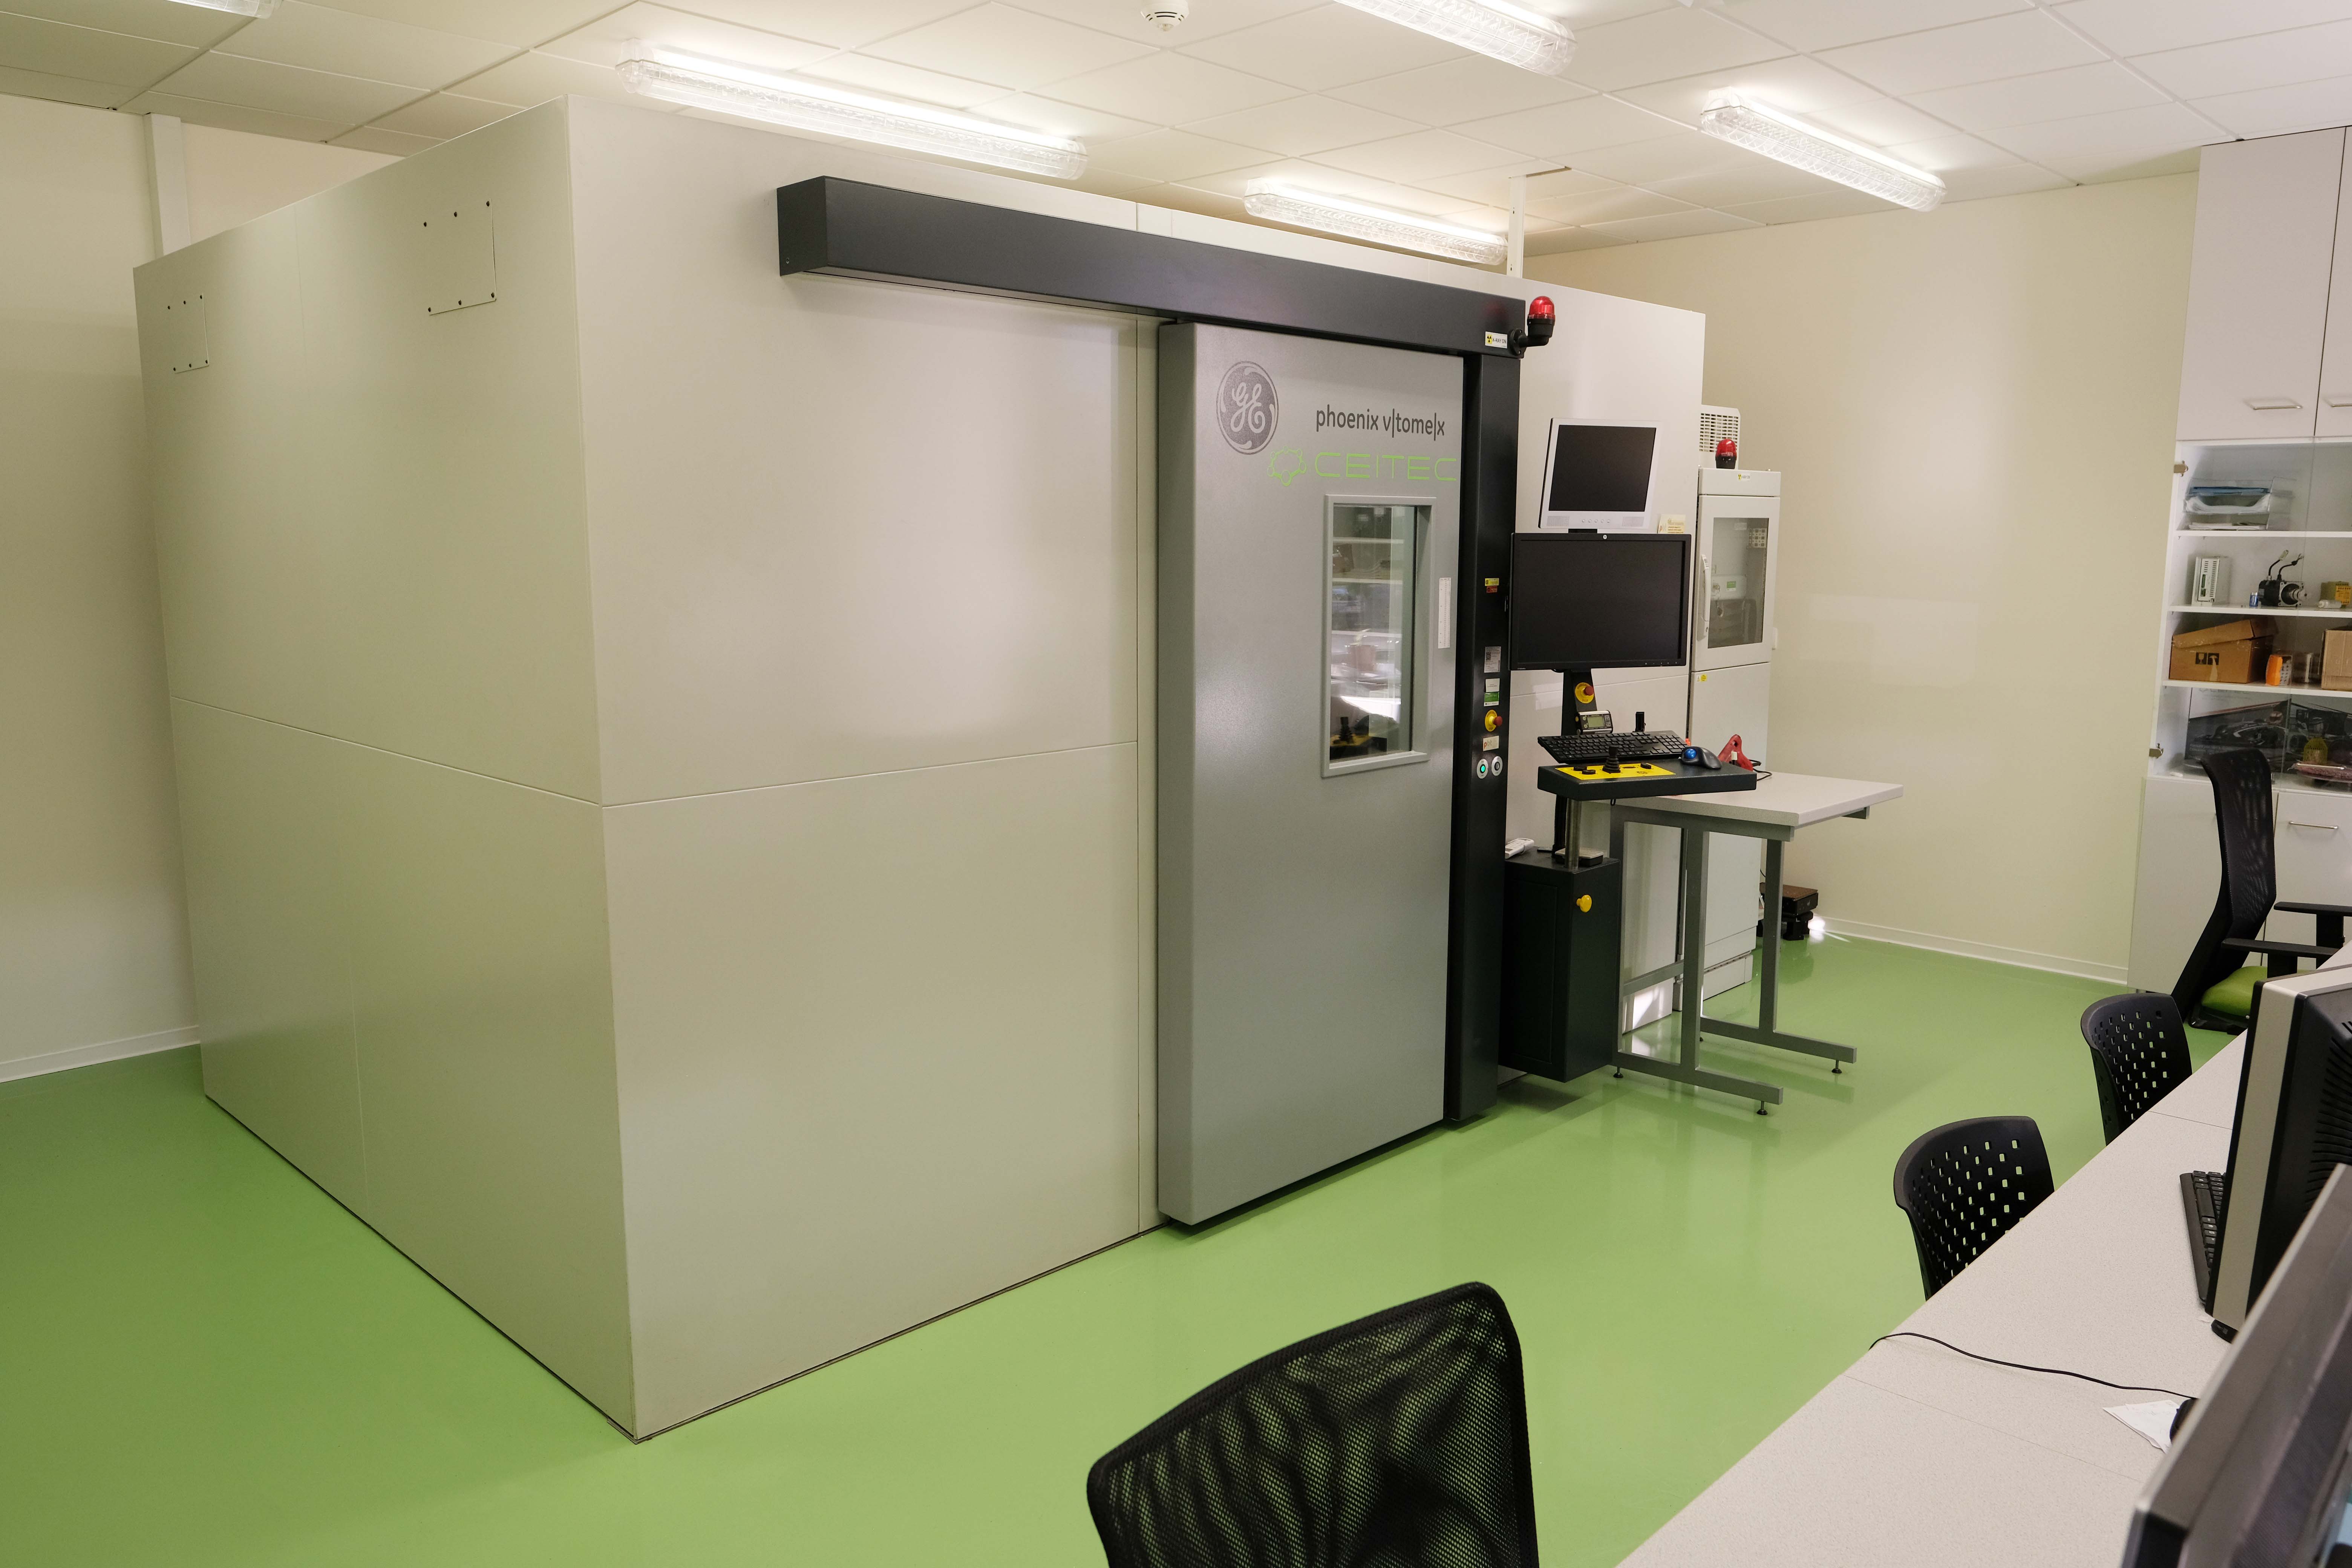
Waygate Technologies phoenix v|tome|x L240
Specifications
- granite-based 7-axis manipulator for long-term stability and highest precision
- detector: flat panel dynamic 41|100: 4000 x 4000 px, pixel size 100 μm
- air-conditioned cabinet
- cluster of 4 GPUs – faster CT data reconstruction
- 240 kV / 320 W microfocus tube
- 180 kV / 50 W nanofocus tube
Limits
- samples up to 500 x 800 mm and 50 kg
- min. voxel size 2 µm for 240 kV tube, 1 µm for 180 kV tube
Virtual tour through laboratory
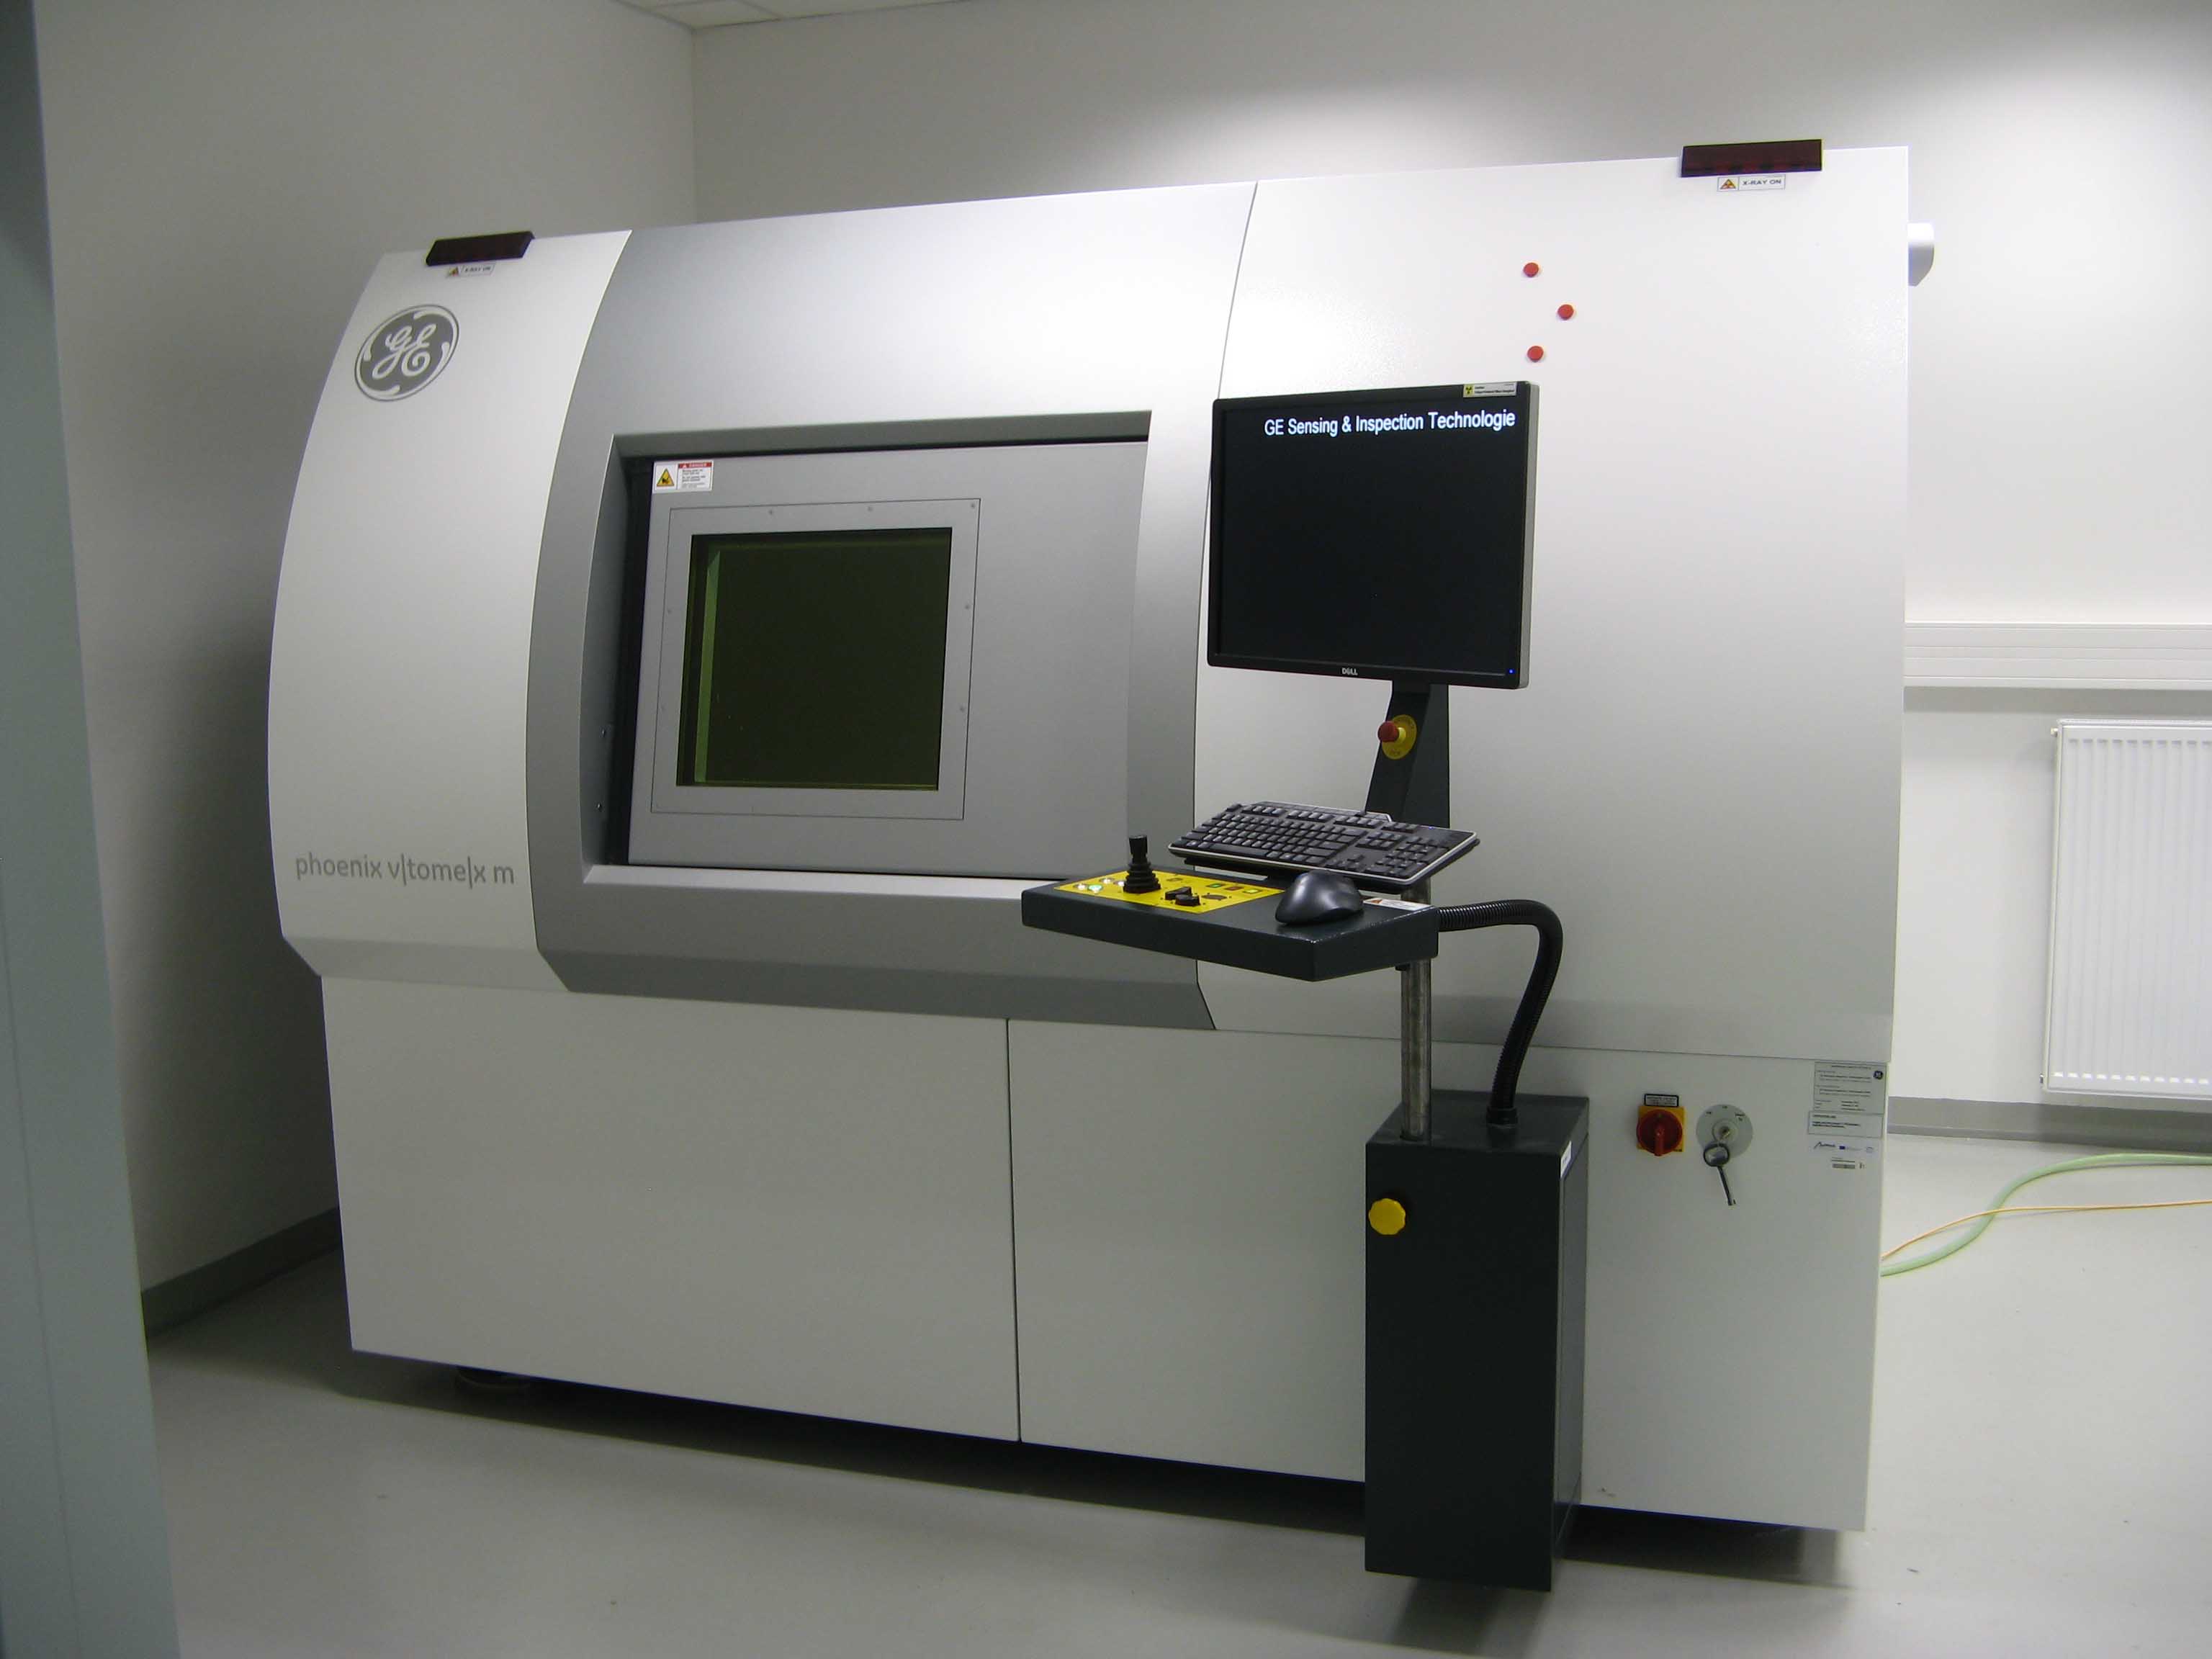
Waygate Technologies phoenix v|tome|x M300
Specifications
- granite-based 5-axis manipulator
- Temperature stabilized digital GE DXR detector array
- cluster of 4 GPUs – faster CT data reconstruction
- 300 kV / 500 W microfocus tube
Limits
- samples up to 360 x 600 mm and 20 kg
- min. voxel size 1 µm
Intended upgrade to metrology edition with a measurement accuracy of 4+L/100 µm referring to VDI 2630 guideline
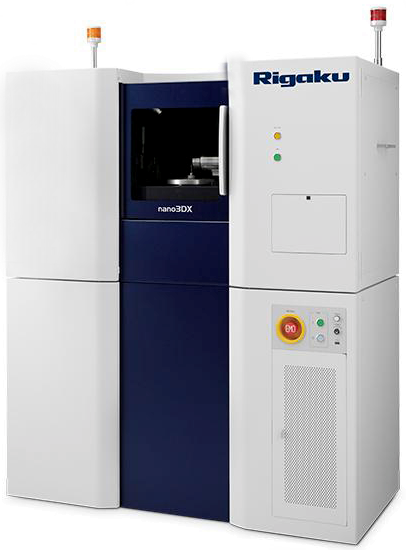
RIGAKU nano3DX
Specifications:
- Sample stage: automatic 5-axis stage
- Detector: lens-coupled scientific-CMOS X-ray camera, 4800 × 4000 pixels
- Field of view & best effective pixel size: 0.90 × 0.75 mm (0.188 µm), 1.80 × 1.50 mm (0.376 µm), 3.60 × 3.00 mm (0.752 µm), 7.20 × 6.00 mm (1.500 µm)
- X-ray tube: High-power tube with a rotating anode and switchable Cu (40 kV/30 mA) and Mo (50 kV/24 mA) targets
Limits:
- Samples approximately as wide as the chosen field of view
- Relatively light materials (biology, polymers, ceramics, aluminium, ...)
Virtual tour through laboratory
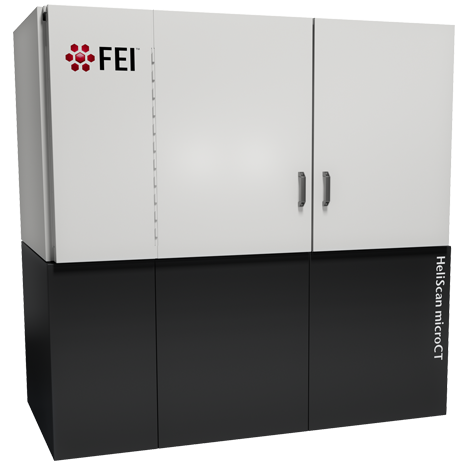
Thermo Fisher Scientific Heliscan
Specifications:
- X-ray source: 20–160 kV, power 8 W
- flat panel detector 3072 × 3072 pixels, dynamic range 16bit
- highly precise stage for helical path
- voxel resolution up to 0.8 µm
- limits: sample diameter 0.5–240 mm, maximum load 3 kg, no stitching needed for samples up to 100 mm in height
Helical scanning trajectory enables to produce a continuous geometrically accurate 3D image of tall samples, without stitching. The patented iterative reconstruction technology provides a critical image resolution and a high signal-to-noise acquisition.
Virtual tour through laboratory
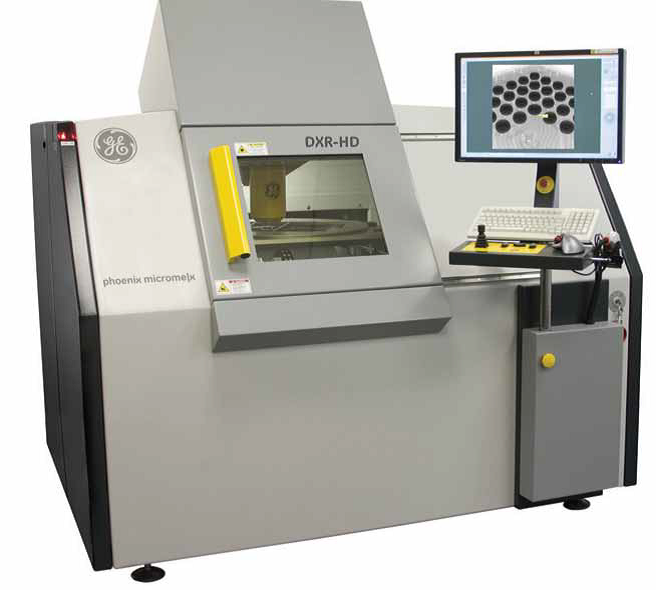
Microme|x microfocus X-ray inspection system
Specifications:
- 180 kV / 20 W high-power microfocus tube with up to 0,5 µm detail detectability
- Combined 2D / 3D CT operation
- Brilliant live images by high dynamic temperature-stabilized GE DXR digital detector with 30 fps (frames per second)
- Precise manipulation
- Optional offset|scan capability to scan bigger parts or the same size parts with higher resolution
The phoenix microme|x is a high-resolution 180 kV microfocus X-ray inspection system for real time inspection of solder joints and electronic components. Innovative and unique features and an extreme high positioning accuracy make the system the effective and reliable solution for a wide spectrum of 2D and 3D inspection tasks: R&D, failure analysis, process and quality control.
